No More Boiling Battles: Discover the Magic of Oven-Baked Hard-Cooked Eggs
Are you tired of the stovetop struggles when trying to prepare a batch of hard-cooked eggs? The delicate dance of preventing cracks in violently bubbling water, the frustration of stubborn shells, and the ever-present threat of that unsightly green ring around the yolk are common culinary foes. If this sounds all too familiar, prepare to revolutionize your approach. The secret to achieving flawlessly cooked yolks and effortlessly peelable whites lies not in a pot of boiling water, but in your oven. This incredible hard cooked eggs in the oven recipe is a true game-changer, offering a "set it and forget it" method that promises consistent, stress-free results every single time.
Whether you're prepping for a week of healthy breakfasts, crafting a magnificent batch of deviled eggs for a party, or simply need a quick, protein-packed snack, baking your eggs in the oven eliminates the fuss and delivers perfection. Say goodbye to guesswork and hello to consistently beautiful, delicious hard-cooked eggs.
Why Oven Baking Trumps Traditional Boiling for Hard-Cooked Eggs
The allure of baking eggs extends far beyond mere convenience. While the idea of "set it and forget it" is certainly appealing, there are several compelling reasons why the oven method consistently outperforms the stovetop:
- Crack-Free Perfection: One of the biggest advantages is the virtual elimination of cracked shells. Unlike the turbulent environment of boiling water, where eggs can knock against each other or the pot, the oven provides a gentle, stable, dry heat. This significantly reduces the thermal shock and physical stress on the eggshells, resulting in a batch of beautifully intact eggs.
- Consistent Doneness: The even heat distribution of an oven ensures that every egg in your muffin tin cooks uniformly. You won't find some eggs slightly underdone while others are perfectly cooked, a common issue when dealing with varying water temperatures and egg placement in a pot.
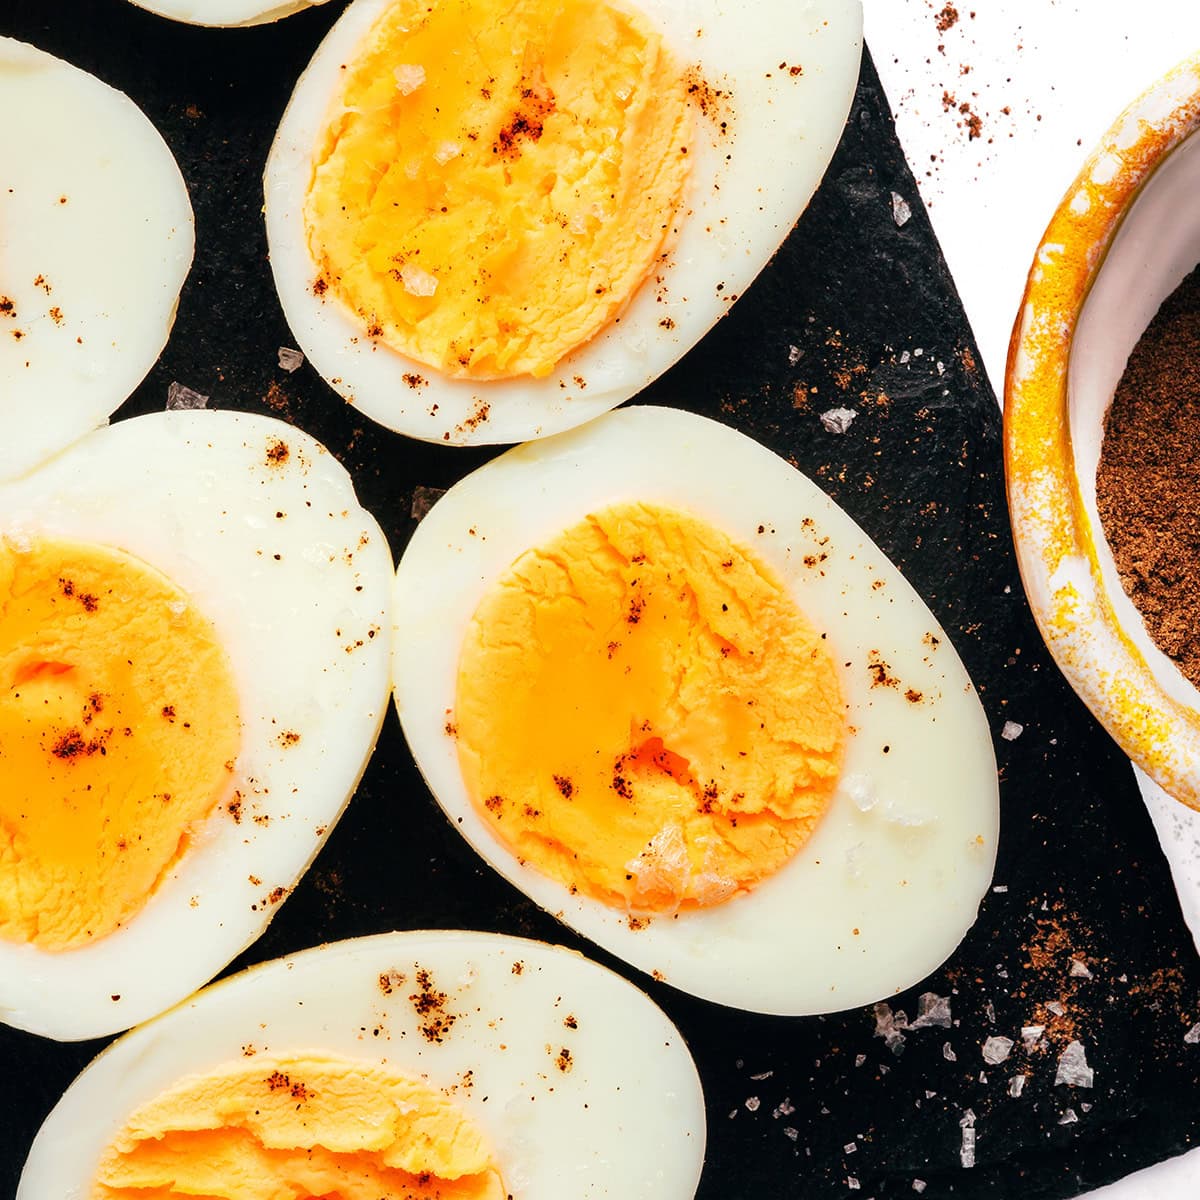
- No Green Ring Guarantee: That unappealing greenish-grey ring around the yolk is a sign of overcooked eggs, where sulfur in the egg white reacts with iron in the yolk. The oven method, combined with an immediate ice bath, expertly prevents this. The rapid chill stops the cooking process dead in its tracks, preserving that vibrant yellow yolk.
- Effortless Peeling: While egg age plays a significant role, the gentle cooking and rapid cooling process of oven baking often contribute to easier peeling. The quick contraction in the ice bath helps the membrane separate cleanly from the shell, saving you precious time and frustration.
- Batch Cooking Efficiency: Preparing a dozen or more eggs simultaneously is a breeze with an oven and a standard muffin tin. No need for multiple pots or overcrowding, making it ideal for meal prep or feeding a crowd.
The Ultimate Hard-Cooked Eggs in the Oven Recipe
Ready to experience the simplicity and superiority of oven-baked hard-cooked eggs? Here’s your foolproof guide to mastering this revolutionary technique.
Ingredients & Equipment:
- 12 large eggs (preferably older eggs for easier peeling)
- 1 large bowl of ice water (filled with plenty of ice cubes)
- Standard 12-cup muffin tin
- Tongs or a spoon for transferring hot eggs
Step-by-Step Instructions:
- Preheat Your Oven: Begin by preheating your oven to 325 degrees Fahrenheit (160 degrees Celsius). Allowing your oven to fully reach temperature is crucial for consistent cooking.
- Prepare Your Muffin Tin: While the oven warms, grab your standard muffin tin. This serves as the perfect cradle for your eggs, preventing them from rolling around and ensuring even heat exposure. Place one raw, large egg into each of the twelve muffin cups. No need for oil or liners!
- Bake to Perfection: Once your oven is preheated, carefully slide the muffin tin onto the middle rack. Bake the eggs for exactly 30 minutes. This duration is the "sweet spot" for perfectly hard-cooked yolks with a firm yet creamy texture.
- Prepare the Ice Bath: This step is non-negotiable! While your eggs are baking, fill a large bowl generously with cold water and a substantial amount of ice cubes. The colder, the better – this ice bath is the secret weapon against the dreaded green ring and aids in easy peeling.
- Immediate Transfer to Ice Bath: As soon as the 30-minute timer signals the eggs are done, carefully remove the hot muffin tin from the oven. Using tongs or a sturdy spoon, immediately transfer each hot egg from the muffin tin directly into the prepared ice water. Do not skip this immediate transfer!
- Chill Thoroughly: Let the eggs sit and chill in the ice bath for a minimum of 10 minutes. For very large batches or warmer ambient temperatures, you might extend this to 15 minutes. Ensure they are completely cool to the touch before proceeding.
- Peel or Store: Once thoroughly chilled, your hard-cooked eggs are ready to be peeled and enjoyed or stored for later. Don't be alarmed if you notice tiny brown dots on some of the shells after baking; this is entirely normal and does not affect the quality, taste, or safety of the egg inside.
Nutritional Information (per large egg, approximate):
- Calories: 74 kcal
- Total Fat: 4.9g
- Cholesterol: 211mg
- Sodium: 70mg
- Protein: 6.2g
Expert Tips for Perfect Hard-Cooked Eggs Every Time
To truly master this method and elevate your egg game, consider these valuable insights and practical tips:
Egg Selection and Age
For the easiest peeling experience, opt for eggs that are a bit older, ideally 7-10 days past their packing date. Fresher eggs tend to have a membrane that adheres more tightly to the shell, making them notoriously difficult to peel. As eggs age, their pH changes and the membrane slightly separates from the shell, leading to a much smoother peeling process after cooking and chilling.
The Importance of the Muffin Tin
While some adventurous cooks might place eggs directly on the oven rack, a muffin tin is highly recommended. It cradles each egg securely, preventing rolling and ensuring even exposure to heat from all sides. Eggs placed directly on the rack may develop slight flat spots, uneven cooking, or be more prone to marking from the grates.
Achieving Your Desired Doneness
The 30-minute mark at 325°F (160°C) is calibrated for a classic, fully hard-cooked yolk. However, personal preference varies:
- For a slightly softer, jammy yolk: Reduce the baking time to 25 or 27 minutes. Keep in mind that exact times can vary slightly depending on your oven's calibration and the size of your eggs, so a little experimentation might be needed to find your perfect timing.
- For very firm yolks (e.g., for grating): Stick to the 30-minute time or even add a minute or two, but be mindful of the potential for a very faint green tinge if overdone and not immediately shocked in ice water.
The Non-Negotiable Ice Bath
We cannot stress this enough: the ice bath is just as critical as the baking itself. It instantly halts the cooking process, which is the primary defense against the green sulfur ring around the yolk. Beyond that, the rapid cooling causes the egg white and membrane to contract, making them pull away from the shell more easily, which in turn facilitates smoother peeling.
Optimal Storage Solutions
Hard-cooked eggs, whether oven-baked or traditionally boiled, store wonderfully. For maximum freshness and to prevent them from absorbing fridge odors, it's best to keep them in their shells until you're ready to eat them. They will remain fresh in the refrigerator for up to one week.
If you've already peeled your eggs, store them in an airtight container. For an extra layer of freshness and to prevent drying out, you can place a damp paper towel over them inside the container before sealing. Change the paper towel every few days.
Beyond the Basic: Creative Uses for Your Oven-Baked Eggs
Once you’ve mastered this incredibly easy hard cooked eggs in the oven recipe, a world of culinary possibilities opens up! These perfect hard-cooked eggs are not just for basic snacking.
- Classic Deviled Eggs: Their perfectly firm yolks are ideal for mashing into a creamy, flavorful filling.
- Salad Superstars: Slice or chop them to add protein and richness to Cobb salads, Niçoise salads, or a simple green salad.
- Hearty Egg Salad: Dice them finely for a satisfying sandwich filling or a delightful topping for crackers.
- High-Protein Snacks: Grab-and-go convenience for a healthy boost anytime.
- Global Inspirations: Incorporate them into curries, ramen bowls, or hearty grain bowls for added texture and nutrition.
This method is also a meal prep game changer, allowing you to stock your fridge with nutritious, ready-to-eat protein for the week ahead.
Conclusion
The days of struggling with stovetop boiling, cracked shells, and unsightly green rings are officially over. Baking hard-cooked eggs in your oven is a simple, efficient, and utterly reliable method that delivers flawless results every single time. With just a muffin tin, your oven, and an ice bath, you can achieve perfectly cooked, easy-to-peel eggs with vibrant yellow yolks. Embrace this stress-free alternative and discover why, once you try this incredible technique, you may never go back to the boiling pot again!
